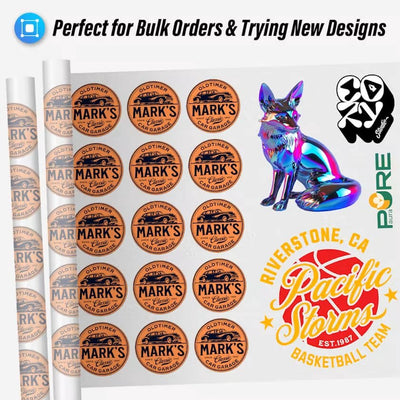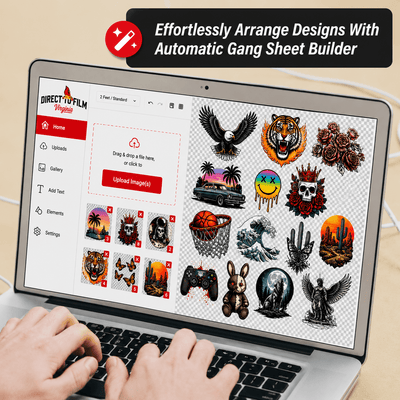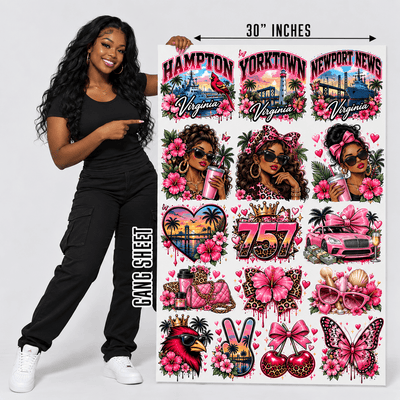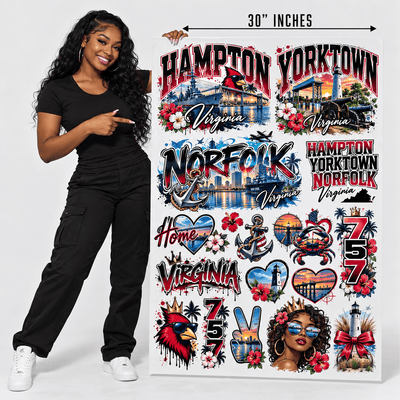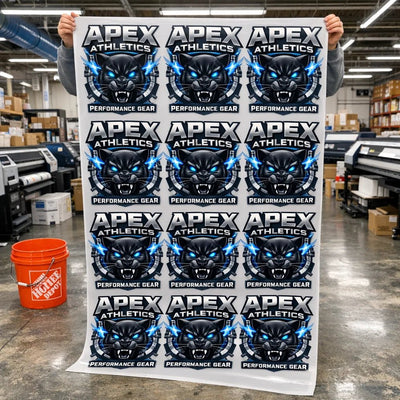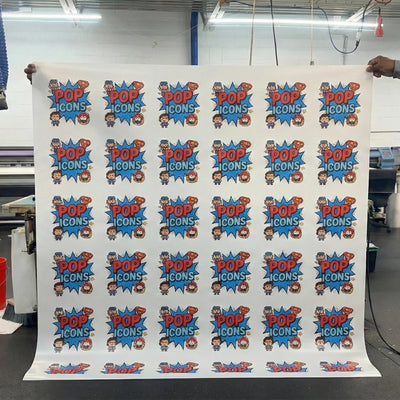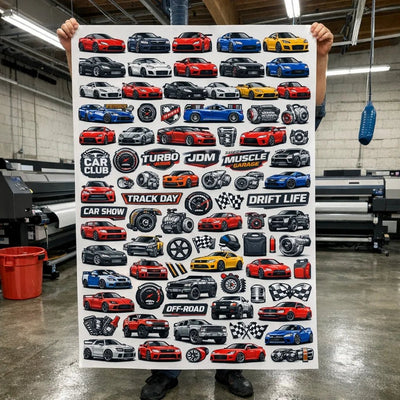

Fitting more designs on a single gang sheet directly cuts material costs and increases production capacity. Gang sheets consolidate multiple designs for simultaneous pressing, reducing waste and improving profit margins.
Learn practical techniques to maximize sheet capacity and improve your bottom line.
Basic Gang Sheet Setup
Know Your Film Dimensions
Most DTF printers use 12-13 inch wide film. Your usable area is approximately 11-12 inches after accounting for trim margins on edges. Measure your printer's exact specifications before planning any layout.
Maintain 0.25-0.5 inch margins on all edges to prevent ink bleeding and cutting errors. Conservative margins prevent expensive mistakes. Know these numbers exactly before you start arranging designs.
Arranging Designs Efficiently
Minimize Empty Space
Position designs close together while maintaining adequate separation for clean cutting. Space designs 0.25-0.5 inches apart to avoid ink overlap. Test your equipment's actual spacing tolerance on sample sheets first.
Small gaps between designs waste valuable film. Tight spacing maximizes capacity when done correctly. Find your optimal spacing and stick with it consistently.
Rotate Designs Strategically
Turn designs horizontally or vertically to fit better on available space. A horizontal design might leave wasted space that a vertical design could fill perfectly. Rotating designs can add 15-25% more capacity depending on shape variety.
Preview layouts before printing. Make sure rotated designs still look right for their intended use.
Group by Size
Small designs pack together tightly. Large designs need more individual space. Arrange small designs in clusters and position large designs separately. This approach maximizes total capacity while simplifying your workflow.
Mix sizes strategically. Sometimes small designs fit perfectly in gaps around larger designs. Try different arrangements on sample sheets to find optimal combinations.

Practical Layout Example
Sample 12-inch Wide Sheet
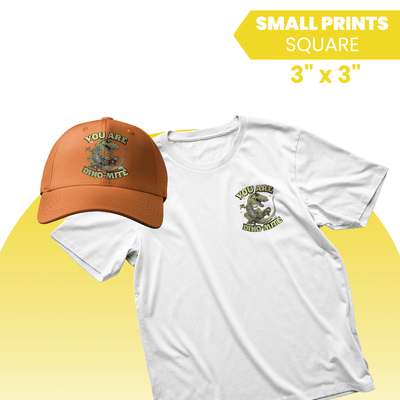
Place three small 3x3 inch designs across the top with 0.25 inch spacing (total width: 9.75 inches). Position two medium 5x4 inch designs in the middle row vertically arranged. Place one large 11x8 inch design across the bottom.
This arrangement fits six designs on one sheet that might normally require two sheets with traditional spacing. Calculate your specific combinations based on your equipment and design sizes.
Creating a Template
Build a reusable template in your design software matching your exact film dimensions. Include trim margins and guidelines for consistent placement. Use templates for every gang sheet to ensure consistency across your entire team.
Share templates with staff members. Update them as you discover better arrangements. Standardized templates eliminate planning errors and speed up production.
Design Specifications Matter
Resolution Requirements
DTF printing requires 300 DPI minimum. Plan layouts based on actual print dimensions, not file sizes. A 4x4 inch print takes the same space whether your file is 1200 DPI or 300 DPI.
Calculate usable space based on final print dimensions. Measure everything in inches, not pixels. This prevents miscalculations that waste materials.
Design File Types
Vector files (SVG, AI) scale cleanly to any size without quality loss. Raster files (PNG, JPG) have resolution limits based on original dimensions. Use vector designs whenever possible for maximum flexibility in sizing and arrangement.
Raster designs must maintain minimum resolution requirements. Plan accordingly when using photograph-based designs. Include resolution notes in your design specifications.
Industry Standards
According to the American Association of Textile Chemists and Colorists, maintain minimum 0.25 inch spacing between designs. Their testing methods establish professional standards for transfer application and durability. Proper gang sheet planning increases capacity 30-40% without quality loss. Following professional standards ensures consistent results.
Document your gang sheet arrangements. Track how many designs typically fit on each sheet. Use this data to calculate actual material costs per design.
Cost Savings Calculation
Simple Math
Five individual sheets with one design each uses 5x material. One gang sheet with 5 designs uses 1x material. Gang sheets reduce material cost by up to 80% in this scenario.
Your actual savings depend on how efficiently you pack designs. Better packing equals better savings. Calculate your specific improvement based on current versus optimized arrangements.

Common Mistakes
Overcrowding
Fitting too many designs too tightly causes ink overlap and cutting errors. Quality losses cost more than material savings. Maintain adequate spacing even if it means fewer designs per sheet.
Test maximum density on sample sheets. Find your equipment's actual limit. Train your team on these spacing requirements.
Ignoring Equipment Margins
Designs positioned too close to sheet edges get cut off partially or completely. Edge designs are often wasted if you ignore equipment margins. Always maintain conservative margins near edges.
Test your equipment's actual usable area with scrap film. Different machines have different edge capabilities. Document your findings for accurate planning.
Failing to Account for Resolution
Using 72 DPI files in a 300 DPI workflow creates pixelated results. Plan spacing based on actual resolution requirements, not desired dimensions. Test different resolutions on sample sheets.
Higher resolution files take the same physical space. Resolution affects file management, not sheet planning. Keep these concerns separate.
Getting Started
Step 1: Measure
Determine your printer's exact film width and usable area. Account for trim margins. Write these numbers down.
Step 2: Plan
Create a template in your design software. Test different arrangement options. Start with three to five designs per sheet.
Step 3: Test
Print sample gang sheets. Evaluate spacing, cut quality, and final results. Note what works well.
Step 4: Refine
Adjust spacing and arrangement based on test results. Develop standard templates for common design sizes.
Step 5: Implement
Train your team on new layouts. Use standardized templates for all projects. Track material savings.
Final Words
Gang sheet optimization increases capacity and cuts costs immediately. Test different arrangements on sample sheets to find your optimal layout. Apply these techniques consistently and watch your profit margins improve.