

Heat Press Instructions & Application Guides
Pick your transfer type for exact press settings
Applies to DTF transfers
DTF Transfers
Get consistent, professional results with the correct press settings for both Standard DTF (Hot Peel) and Glitter DTF (Cool Peel) transfers, including temperature, pressure, timing, and peel instructions.
- Temperature285 °F
- Time8-10s
- PressureMedium
Pressing instructions
Position & Press
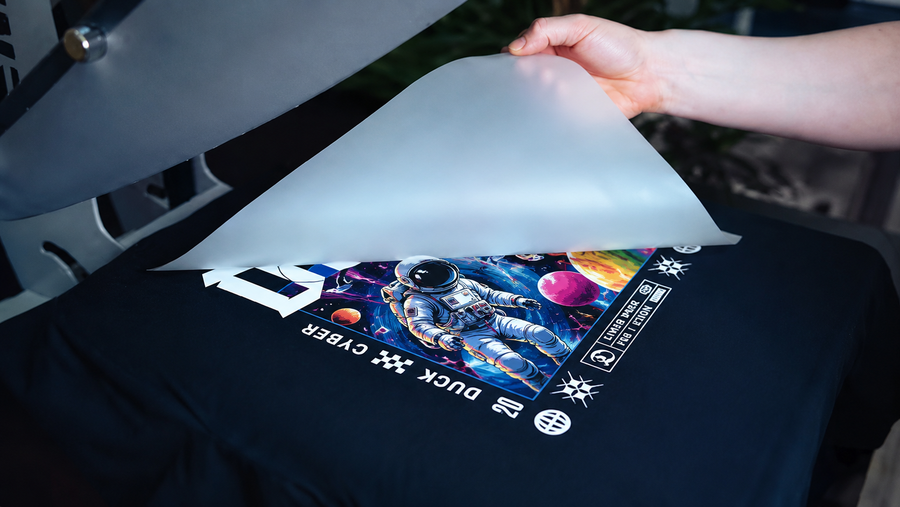
Place the transfer on the garment and press at 285°F using medium to heavy pressure for 8–10 seconds.
Peel the Film
For Standard DTF Transfers (Hot Peel): Peel the film immediately, starting from one corner of the design. If you feel resistance, stop immediately and refer to the troubleshooting guide. For Glitter DTF Transfers (Cool Peel): Allow the transfer to cool completely, then peel the film slowly, starting from one corner of the design.
Final Repress
Cover the design with parchment paper and repress for 5 seconds using medium to heavy pressure.
Ready to Wear
Allow the garment to cool completely before folding, packaging, or stretching the print to ensure the best finish and durability.
Care Notes
If the film doesn't peel cleanly:
- Repress for 2–5 seconds and try again.
- If needed, increase the temperature by 10°F, press 2–3 seconds longer, or apply more pressure.
- Still having trouble? Let the transfer cool completely before peeling.
- Every heat press is different, so test your settings before full production.
Applies to all tpu patches
TPU Patches
Apply these settings for the best adhesion, flexibility, and durability when heat pressing TPU patches.
- Temperature250°F
- Time15–20s
- PressureLight
Pressing instructions
Prepare the Patch
Remove the protective backing and position the TPU patch on the garment or item.
Cover the Patch
Place a Teflon sheet or parchment paper over the patch before pressing.
Press
Heat press at 250°F (121°C) for 15–20 seconds using light pressure.
Cool & Finish
Allow the patch to cool completely before handling or testing the bond.
Care Notes
- Use 250°F (121°C) with light pressure for best results.
- Do not exceed the recommended temperature, as excessive heat may cause shrinkage or stiffness.
- Consistent heat and pressure help ensure a strong bond while maintaining the patch's flexibility and soft feel.
Applies to all leather patches
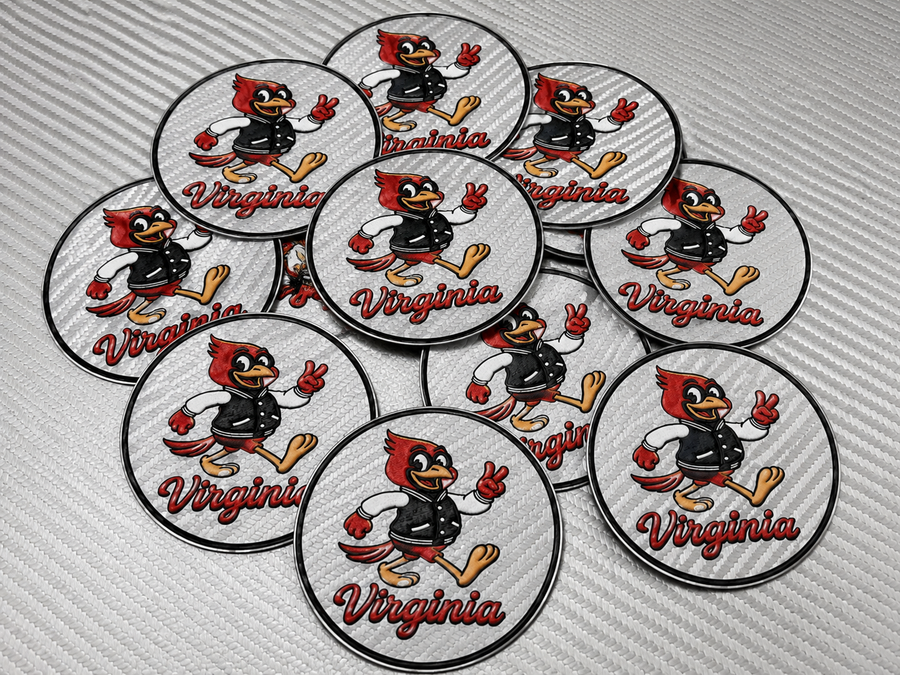
Leather Patches
Apply these settings for the best adhesion, flexibility, and durability when heat pressing leather patches.
- Temperature350°F
- Time50s
- PressureMedium
Pressing instructions
Prepare the Patch
Remove the protective backing and position the leather patch on the garment.
Cover the Patch
Place a silicone pad over the leather patch before pressing.
Press
Press using either Double Heat Press (280°F top / 320°F bottom, 40 sec) or Single Heat Press (350°F, 50 sec) settings.
Cool & Finish
Allow the patch to cool completely before handling or testing the bond.
Care Notes
- Always use a silicone pad to protect the leather during pressing.
- Do not exceed the recommended temperature, as excessive heat may cause discoloration or damage.
- Apply firm, even pressure for the best adhesion while preserving the leather's natural texture.
Applies to all woven labels
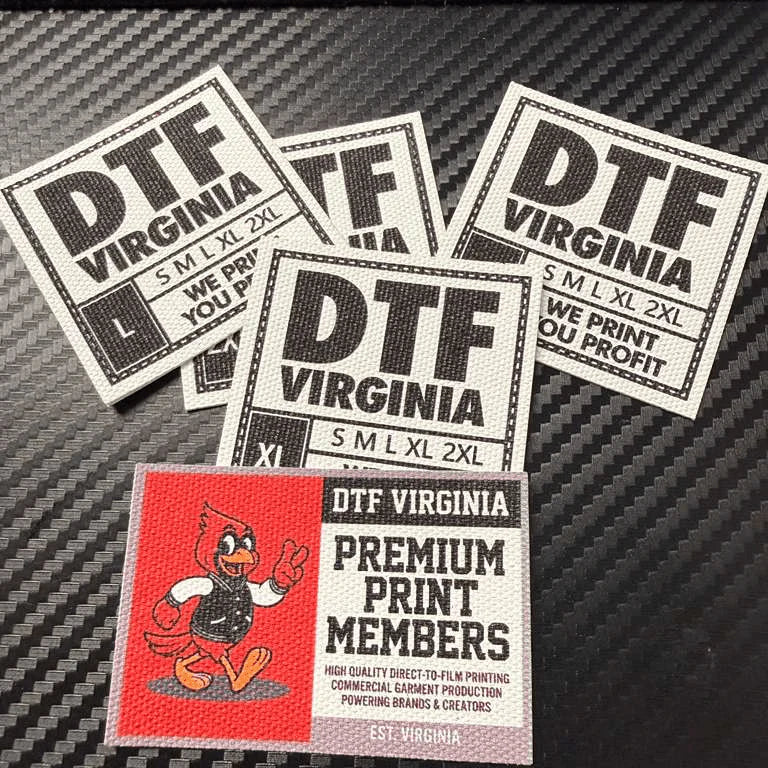
Woven Labels
Use the recommended settings below for a secure bond and long-lasting results.
- Temperature285°F
- Time10s
- PressureMedium
Pressing instructions
Remove the Backing
Peel off the protective backing from the woven label before pressing.
Position the Label
Place the woven label in the desired location on the garment.
Press
Heat press at 285°F for 10 seconds using medium to heavy pressure.
Cool & Finish
Allow the patch to cool completely before handling or testing the bond.
Care Notes
- Always remove the protective backing before pressing.
- Test your settings before full production, as heat presses may vary.
- Allow the label to cool completely for the best adhesion.
Applies to all UV DTF Transfers
UV DTF Transfers
Apply your UV DTF transfer to clean, smooth surfaces for the best adhesion and durability.
- Temperature
- Time
- Pressure
Pressing instructions
Clean & Pre-Squeegee
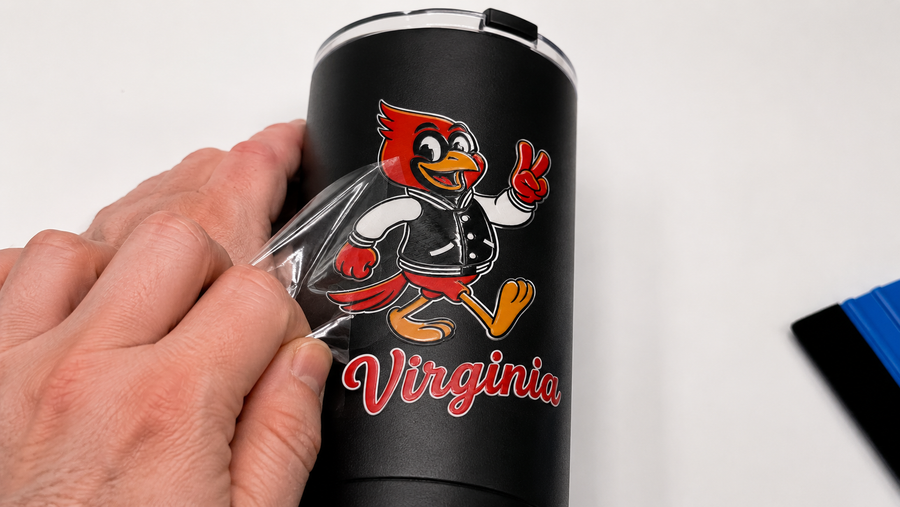
Clean the surface if needed using soap and water or a 50/50 mix of rubbing alcohol and water. Then, place the design face down and firmly squeegee the back 2–4 times.
Peel the Carrier
Slowly peel the carrier from the backing, making sure the entire design transfers to the carrier sheet. If any part stays behind, squeegee again and peel from a different angle.
Position the Sticker
Carefully align the design and apply it to your item. For larger designs, apply from one side to the other to help prevent bubbles and wrinkles.
Apply & Remove
Firmly squeegee the design 2–4 times, then slowly peel off the carrier sheet. If any part lifts, lay it back down, squeegee again, and peel slowly from another angle.
Care Notes
- Always remove the protective backing before pressing.
- Test your settings before full production, as heat presses may vary.
- Allow the label to cool completely for the best adhesion.
Applies to all Puff Transfers
Puff Transfers
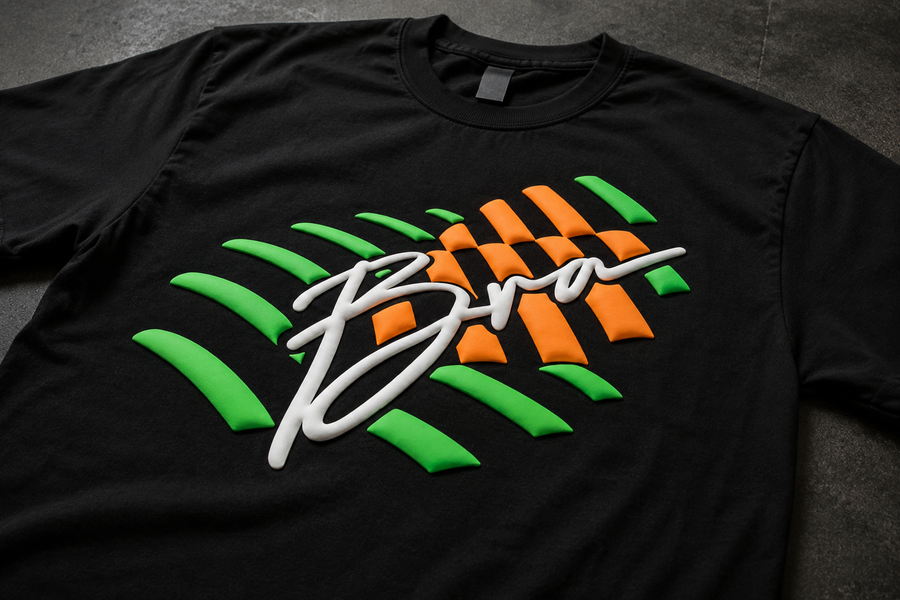
Follow these settings to achieve the best puff effect and long-lasting adhesion. Test your settings before full production, as heat presses may vary.
- Temperature311°F
- Time15s
- PressureMedium
Pressing instructions
Position & Press
Place the transfer on the garment and press at 311°F using medium pressure for 15 seconds.
Peel the Film
Allow the transfer to cool slightly, then peel the film slowly from one corner. If you notice resistance, allow it to cool a little longer before peeling.
Optional Final Press
For improved adhesion, cover the design with parchment paper or a Teflon sheet and press lightly for 3–5 seconds. Avoid excessive pressure, as it may reduce the puff effect.
Care Notes
- Always remove the protective backing before pressing.
- Test your settings before full production, as heat presses may vary.
- Allow the label to cool completely for the best adhesion.
Applies to all sublimation transfers
Sublimation Transfers
Follow these settings for vibrant, long-lasting sublimation prints. Sublimation works only on polyester or polymer-coated surfaces.
- Temperature375°F
- Time40s
- PressureMedium
Pressing instructions
Prepare & Pre-Press
Set your heat press to 375–400°F using medium pressure. Make sure the item is clean and dry, then pre-press for 3–5 seconds to remove moisture and wrinkles.
Position the Transfer
Place the sublimation transfer face down on the item and secure it with heat-resistant tape to prevent shifting.
Protect & Press
Cover the transfer with butcher paper, parchment paper, or a Teflon sheet, then press for 40–60 seconds using medium pressure.
Remove & Cool
Open the heat press and immediately remove the transfer paper while hot. Allow the item to cool completely before handling.
Care Notes
- Works only on polyester fabrics or polymer-coated blanks.
- Pressing time may vary by heat press and substrate—always test before full production.
- Use protective paper to prevent ink transfer to your heat press or garment.

Ready when you are
Ready to Make Your Designs Unforgettable?
Stop wasting time on transfers that fade or crack. Get vibrant, durable prints your brand deserves.