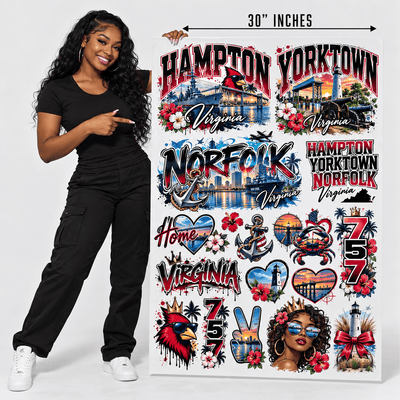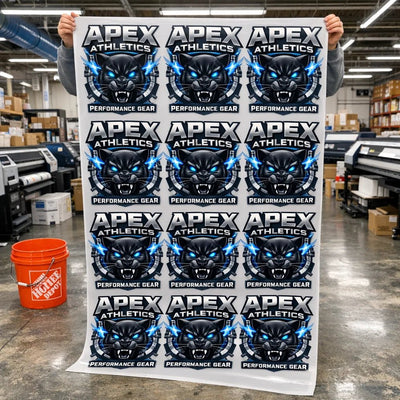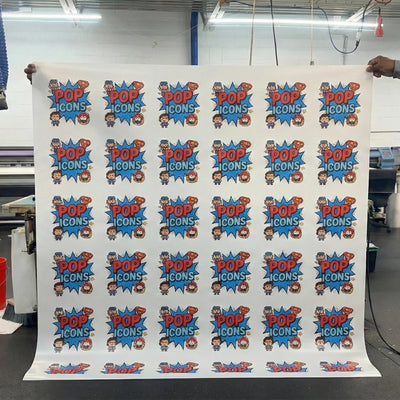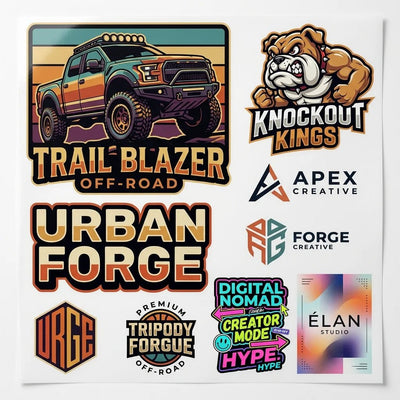
Getting the right size for your DTF transfer makes the difference between professional apparel and designs that miss the mark. This guide breaks down exact sizing for small, medium, large, and oversized prints.
Understanding DTF Sizing Basics
Why Sizing Matters
The transfer size impacts visual balance and professional appearance on finished garments. A design perfect on a medium shirt might overwhelm a youth size or disappear on a 3XL. Design dimensions depend on shirt size, placement, and design complexity.
Sizing decisions affect both aesthetics and costs. Start with industry standards for consistency.
Placement Impact on Design Size
Where you place a design influences the ideal size range. Understanding placement relationships prevents sizing mistakes. Chest prints must avoid seams while sleeve prints need arm movement room. Full-front and full-back designs require visual weight consideration.
DTF Print Sizing Reference Guide
|
Print Size |
Adult Width |
Adult Height |
Youth Width |
Youth Height |
Best Placement |
Design Type |
|
Small |
1-5" |
1-5" |
1-3" |
1-3" |
Pocket, Sleeve, Left Chest |
Logos, Initials, Monograms |
|
Medium |
6-10" |
4-8" |
4-7" |
3-6" |
Center Chest, Upper Back |
Slogans, Graphics, Text |
|
Large |
11-14" |
11-15" |
9-12" |
10-12" |
Full Front, Full Back |
Photos, Artwork, Details |
|
Oversized |
14-17" |
15-17" |
10-12" |
10-12" |
Full Coverage |
Statement, Artistic |
Small Print Sizes (1-5 Inches)
Best Uses for Small Prints
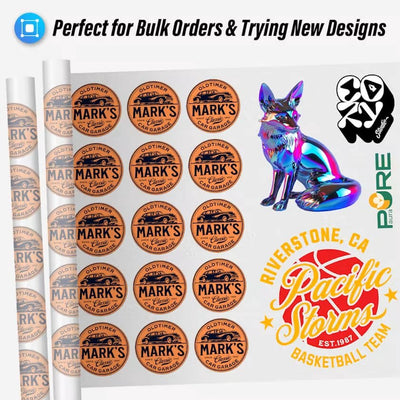
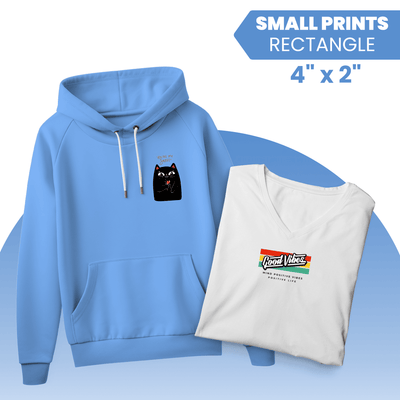
Small prints work for subtle designs, pocket logos, and sleeves. Small prints ideal for professional and corporate applications. Cost-effectiveness improves with material savings. Gang sheet optimization improves when combining small designs on one film.
Small Print Specifications and Placement
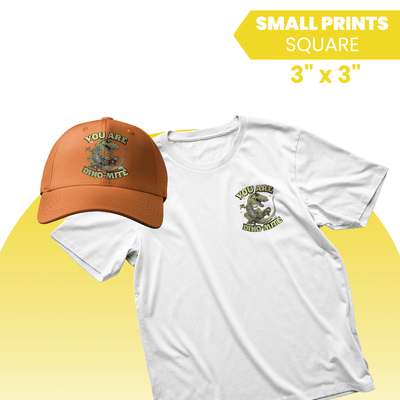
Pocket prints measure 2" wide by 2" high, positioned 1" from pocket seam. Sleeve designs measure 2-3" wide by 1-2" high, placed 1" above the seam. Left chest logos measure 3-4" wide by 2-3" high, positioned 3-4" from the collar.
Youth small prints use 2-2.5" wide maximum for proper proportion. Small prints save material and reduce production time while maintaining quality. Position all designs with consistent standards to ensure professional results with every order.
Medium Print Sizes (6-10 Inches)
Optimal Uses for Medium Prints
Medium prints balance visibility with proportion perfectly for center chest and upper back placements. Medium prints represent the sweet spot for most custom apparel applications. They command attention without overwhelming the entire garment. This category offers versatility across different garment types and customer preferences.
Medium Print Specifications and Industry Standards
The center chest on adult shirts uses 8" wide by 4-5" high, positioned 3" below the collar. Youth versions use 6" wide by 3-4" high. Upper back placement works at 10-12" wide by 3-5" high.
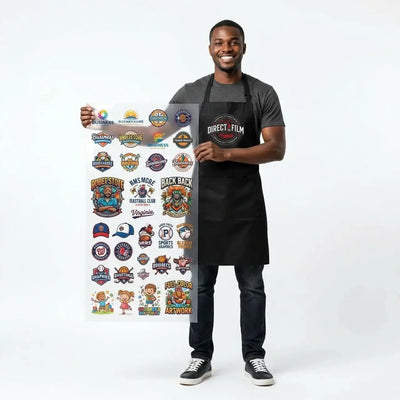
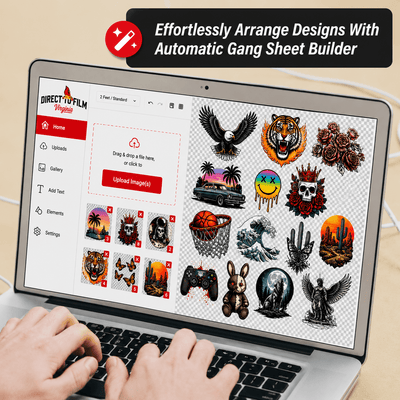
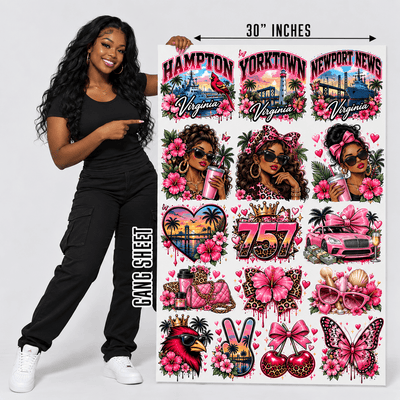
Gang sheets accommodate multiple medium prints efficiently, fitting two or three designs comfortably on standard film. This proven industry standard applies across all professional decoration methods with consistent success.
Large Print Sizes (11-14 Inches)
When to Use Large Prints
Large prints create bold statements for full front or full back placements on adult apparel where visual impact drives design selection. Large prints demand design complexity and visual strength to succeed without appearing empty or unfinished on finished garments. These sizes work best for artistic designs, photographic images, and detailed graphics that benefit from expanded visual real estate.
Event merchandise, band tees, and artistic apparel thrive with large sizing that commands attention and creates distinctive brand presence. Large prints require high-resolution source files and detailed artwork to avoid disappointing results.
Always calculate cost implications before committing to large sizing decisions since one large print consumes more film area than multiple medium prints combined.
Large Print Specifications and Design Requirements
Full front prints measure 11-12" wide by 11-14" high, positioned 3" below the collar. Full back prints reach 12-14" wide by 14-16" high. Youth large prints use 9-10" wide by 10-12" high.
Photographic images and detailed graphics excel at large sizes. Simple solid-color designs risk looking empty at these dimensions. Always calculate cost implications since one large print uses more film than multiple medium prints.
Oversized Print Sizes (14+ Inches)
Maximum Impact Designs
Oversized prints create dramatic visual impact for specialty apparel and streetwear brands. Oversized prints transform garments into wearable art. These excel for limited-edition runs and premium products where visual impact justifies higher costs.
Hoodies accommodate oversized prints better than standard t-shirts. Avoid placement that wraps into hood areas where bunching creates issues.
Oversized Print Specifications and Equipment Considerations
Oversized prints measure 13-15" wide by 15-17" high on adults, positioned 2" below the collar. Youth versions stay 10-12" wide. Most standard DTF printers max out at 12-13" width, requiring wide-format equipment for larger designs.
Verify equipment capabilities before designing oversized prints since printer limitations impact feasibility. Oversized prints excel for limited-edition runs and premium products where dramatic visual impact justifies higher costs.
Sizing by Garment Type
Standard T-Shirts and Variations
Crew neck t-shirts use baseline sizing for consistent results. V-neck shirts need chest placement moved 2" higher to avoid interference. Tank tops require narrower designs since side seams come closer together.
Consistent sizing standards across garment variations prevent production errors and customer dissatisfaction. Ladies' cuts need narrower chest prints by 0.5-1" from standard measurements.
Specialty Garments and Fabric Considerations
Hoodies accept larger prints than t-shirts. Add 1-2" to standard width for hoodies. Always test sizing on actual garment samples before full production runs. Different fabric types affect sizing outcomes through shrinkage and stretch during pressing and curing.
Creating Your Sizing Formula
Calculate Ideal Design Dimensions
Divide garment width by 2, then multiply by 0.8 for maximum width. This formula prevents designs from overwhelming any garment. A 20" shirt times 0.8 equals 16" maximum width.
Document successful sizing and create reference cards for production staff. Train team members using documented standards.
Common Sizing Mistakes to Avoid
Using adult prints on youth apparel overwhelms smaller bodies. Assuming one size fits all fails since adult size differs from 3XL. Placing designs too close to seams creates awkward breaks.
Failing to account for fabric stretch creates fit issues and complaints after wearing.
Final Words
Small, medium, large, and oversized options provide sizing solutions for every custom apparel application. Start with industry standards and test on actual garments. Proper sizing establishes professional appearance and ensures customer satisfaction. Master these sizing principles and your custom apparel will stand out.