
PREMIUM CUSTOM PRINTING
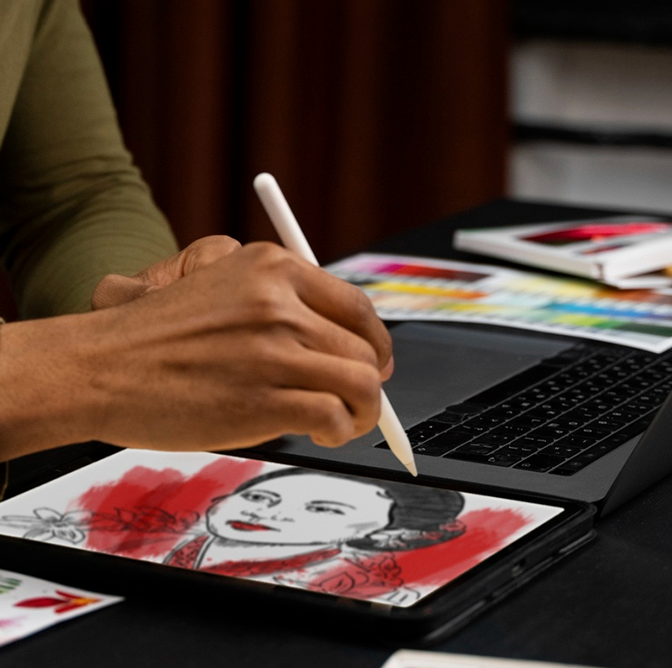
ARTWORK SERVICES AVAILABLE
Say hello to crystal-clear quality! Utilize our vector service to enlarge your images without any loss of detail. Achieve stunning, professional results effortlessly. Transform your creations today with our cost-effective vector service!
Frequently Asked Questions
Clear Answers To Help You Make Informed Decisions
Direct to Film or DTF is a process that transfers prints onto fabric or other substrates using a heat-press mechanism. Unlike the DTG method, which only works on cotton fabrics, the Printer DTF method can work on cotton and poly blends and much more.
The Direct to Film (DTF) process works through several key steps, allowing for vibrant and durable designs to be transferred onto various fabrics. Here's a detailed explanation of how DTF works:
1. Design Preparation:
- Artwork Creation: The design is created or prepared using graphic design software. It is essential that the design is of high resolution to ensure quality printing.
- Color Management: Colors are adjusted and managed to ensure they print correctly and vibrantly.
2. Printing:
- Film Selection: A special PET (polyethylene terephthalate) film, known for its stability and non-stick properties, is chosen.
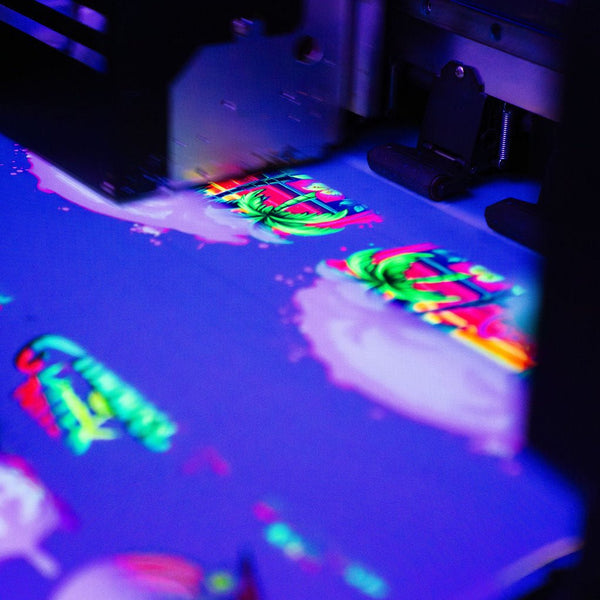
- Printer Setup: The DTF printer is set up, which is capable of printing with specialized water-based pigment inks. These printers typically have multiple color channels, including white ink, which is essential for opacity on dark fabrics.
- Printing Process: The design is printed directly onto the PET film. The printer lays down the ink in reverse order, starting with the white layer if needed, followed by the colored layers. This ensures that when the design is transferred, it appears correctly.
3. Adhesive Powder Application:
- Hot-Melt Adhesive Powder: While the ink is still wet on the film, a hot-melt adhesive powder is applied. This powder adheres to the ink and will act as the bonding agent between the ink and the fabric.
- Curing: The film with the adhesive powder is then cured, typically using a heat press or a curing oven. This step ensures the powder melts and sticks to the ink without fully activating its adhesive properties yet.
4. Transfer Process:
- Heat Press Setup: The fabric onto which the design will be transferred is placed on a heat press. The press is preheated to the required temperature, usually between 160-180°C (320-356°F), depending on the fabric type.
- Positioning the Film: The cured PET film with the printed design is positioned onto the fabric with the design facing down.
- Heat Transfer: The heat press is closed and pressure is applied for a specific duration, typically around 10-20 seconds. The heat and pressure activate the adhesive powder, bonding the ink to the fabric.
5. Peeling:
- Cooling: After the heat press cycle, the fabric and film are allowed to cool down to avoid smudging or misalignment.
- Film Removal: Once cooled, the PET film is carefully peeled away, leaving the printed design adhered to the fabric.
6. Final Touch:
- Post-Pressing: Sometimes, a final pressing without the film can be done to ensure the design is firmly bonded and to enhance its durability.
The DTF process is favored for its ability to print highly detailed and vibrant designs on a wide range of fabrics, including cotton, polyester, blends, and more. It is also appreciated for its versatility, enabling printing on both light and dark garments without significant adjustments.
Step by Step - How to prepare a gang sheet (Photoshop)
If you are new to heat transfers, one of the most common terms used for printing multiple images on one sheet of paper is called a “Gang Sheet”
Gang sheets are perfect when you have multiple images using the same colors and when you need multiple sizes of the same design.
Step by Step - How to prepare a gang sheet (Photoshop)
Step #1
Create your document size by selecting one of the available sizes. You must do this in your own drawing program such as Adobe Illustrator, Corel Draw or Adobe Photoshop. You can either create a new document with the required size or change the canvas size in your current window
Step #2
Go to the Document Color mode and select CMYK
Step #3
Begin placing your images on the sheet (sized to desired measurements). Place your vector image to the top left corner of the page.
Be sure to adjust any sizes if necessary to allow enough room for all of the images to fit.
Step #4
Create a 1/2″ x sheet width″ box to create your cutting spacing
Ex. 1/2″ x 11" for an 11x17 inch sheet
Step #5
Duplicate your original image by pressing Command + Shift+D and repeat until you reach the end of the sheet
Step #6
Create a Sheet length″ x 1/2″ box to create your vertical cutting space
Ex. 17″ x 1/2″ for an 11x17 inch sheet
Step #7
Select the top row of graphics and then duplicate all by pressing Command+Shift+D and repeat until the end of the sheet
Step #8.
Save your image files (PNG) and be sure to embed all images before saving
Once you complete these steps, you can then upload your gang sheet.
CONTACT US IF YOU NEED YOUR GANG SHEET CREATED FOR YOU
** ADDITIONAL CHARGES APPLY**
Gang Sheet options are available in most all of our ink formulas and priced by the sheet. All gang sheet options offer a great price with no extra set up charges. The more you fit on the sheet, the lower your price is per image. This can be very useful when you need several sizes of the same logo. For example you may have a team uniform order which requires a full back print, left chest print or a full front imprint.
Direct To Film Transfer Pressing Instructions
Heat Press is REQUIRED.
It is important to know not all heat presses are alike, temperatures may vary and uneven temperatures during pressing may occur.
Best practice is to preheat garment to remove excess moisture
Our film is peeled cold.
-Align Transfer and Press at 300-325 degrees for 10-15 seconds.
-Allow Transfer to COOL COMPLETELY before removing clear film
-Cover with parchment and re-press for 5 seconds to cure into the fabric.
It is best practice to wait 24 hours before washing or stretching
Trouble shooting Cold Peel Film:
BE SURE IT IS COMPLETELY COOL BEFORE ATTEMPTING REMOVAL! Although pressing issues are uncommon, If your transfer attempts to lift when removing the clear film, press it again for 2-5 seconds. You may need to increase your heat by 10 degrees, pressing time by 2-3 seconds or pressure dependent on your press. Digital Transfers are very forgiving and can tolerate a temperature or pressing time a little longer than listed. These are guidelines - you should always test with your own equipment before attempting a full project.
These are instructions from the Manufacturer and have worked for me personally! You have to figure out your press and what works best for it. Pressure and heat! There are no refunds or exchanges for operator error!
You May Also Like
A selection of our best products, recommended just for you.
Recently Viewed
Take another look—your perfect product might just be one click away.

22in Fluorescent DTF Heat Transfers
$9.00


