Do you want to take your designs, images, and artwork from digital form and turn them into physical prints? Why not go for direct-to-film DTF transfers? It is a versatile method for transferring intricate designs onto various surfaces.
Whether you are a DIY enthusiast, or a business owner looking for cost-effective solutions, mastering the art of DTF transfers can open up a world of creative possibilities. But here comes the actual question, how do you pull off a successful DTF transfer? Do not fear; this guide will take you through everything you need to know about DTF transfers.
What are DTF Transfers?
Direct-to-Film (DTF) transfers involve printing your design onto a transparent film and then transferring it onto a substrate using an adhesive powder and a heat press machine.
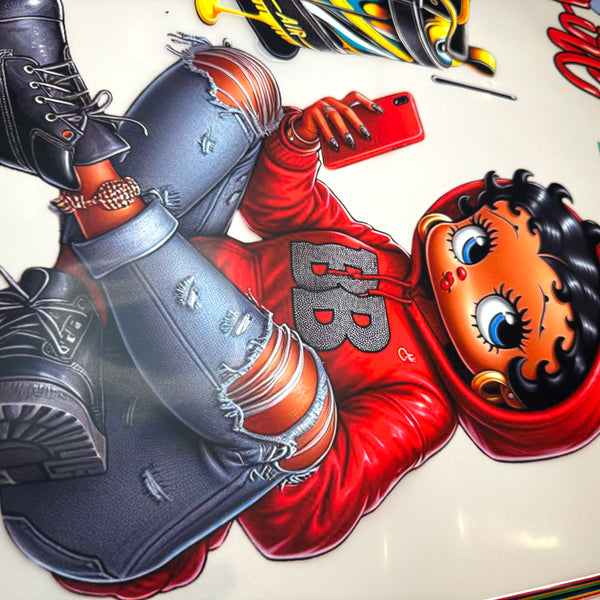
This technique offers exceptional color vibrancy, fine detail reproduction, and versatility across various surfaces like fabrics, wood, ceramics, and more. So, if you are looking for a precise transfer of intricate designs, DTF transfers are the way to go. If you want perfect DTF apparel, order now.
Step By Step Process to Make DTF Transfers
Are you ready to get started with your DTF transfers? Let's take a look at the step-by-step process.
Step#1: Gather All Materials and Tools
Before diving into the process, ensure you have all the necessary materials and tools. You need artwork software such as Adobe Illustrator or CorelDRAW for designing. You also need a high-quality DTF printer, compatible films, adhesive powder, a heat press machine, and cleaning supplies to maintain your equipment.
Step#2: Prepare Your Artwork
Begin by creating or importing your design into your chosen artwork software. Keep in mind that DTF transfers require a mirrored design means that the right side of your design will become the left side when you transfer it onto the substrate.
You have to ensure proper orientation when transferred. Consider color separation for multi-color designs and ensure your artwork is appropriately sized and scaled.
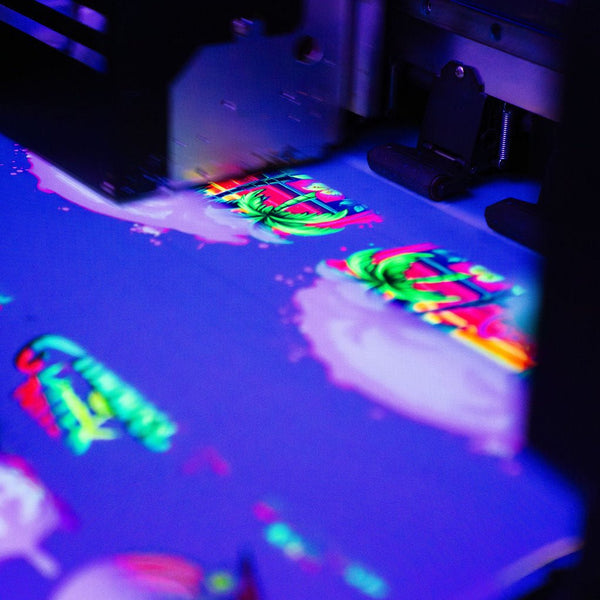
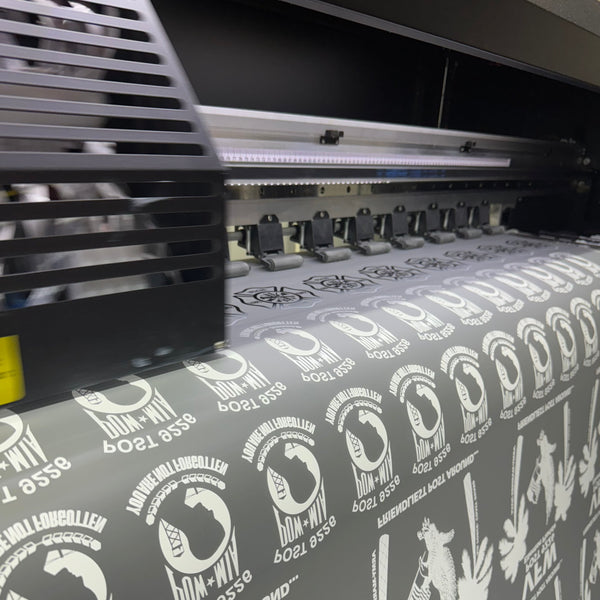
Step#3: Print the Film
Set your DTF printer settings according to the manufacturer's guidelines. Load the transparent film into the printer, and ensure it is positioned correctly for accurate printing. Once printed, handle the film with care to prevent smudging or damage.
Step#4: Apply the Adhesive Powder
Lay the printed film flat and apply the adhesive powder evenly using a brush or sifter. Gently tap off excess powder and ensure the adhesive adheres only to the inked areas of the design. Cure the adhesive-coated film, usually with a heat gun or press.
Step#5: Transfer the Design
Position the cured film onto the desired substrate, adhesive side down. Set up your heat press machine with the appropriate temperature and pressure settings.
Now carefully place the substrate and film into the heat press, ensuring proper alignment. Apply pressure and heat for the recommended duration, then allow the substrate to cool before peeling off the film.
Step#6: Last Touch
After peeling off the film, inspect the transferred design for quality and detail. Use cleaning supplies to remove any residue from the substrate. It depends on your project, package, or present your finished product in a way that showcases its uniqueness and craftsmanship.
Tips for Successful DTF Transfers
Making a dtf transfer can be a daunting task. But with some knowledge and preparation, it doesn't have to be. Here are some tips for creating successful DTF transfers:
- Quality Matters: Always use high-quality films and eco-friendly inks for your DTF transfers. This will ensure vibrant prints and durability.
- Right Temperature and Pressure: Applying the right amount of heat and pressure during the transfer process is essential. Too little may result in a weak transfer, while too much can damage the material.
- Proper Curing: Don't rush the curing process. Proper curing is vital to ensure the print's longevity.
- Storage: Keep your DTF transfers away from direct sunlight and moisture. Store them in a cool, dark place to avoid degradation of the print quality.
- Take Care: Regularly check for fading or peeling of the print, and take corrective measures right away if you notice any issues.
- Inspection: Always inspect your DTF transfer film after they are printed and before they are shipped. This will ensure that you deliver the best quality product to your customers.
- Maintenance: Clean the DTF transfer machine with cleaning solutions and use only high-grade parts to ensure optimal performance.
Benefits of Direct-to-Film Prints
Have you ever wondered what makes Direct to Film transfers so popular? Here are some key benefits:
- Vibrant and Colorful Prints: DTF transfers provide vibrant colors that last. The prints won't fade or discolor over time, making it an ideal choice for high-traffic areas.
- Durable Material: DTF transfer films are highly durable and resistant to wear, tear, and fading.
- Eco-Friendly: DTF printing is eco-friendly as the materials used for printing are free of toxins and hazardous chemicals.
- Affordable: It is an affordable option for large-scale printing projects. They also cost less per print than traditional methods like screen printing or digital printing.
- Fast Turnaround Time: Direct-to-film printing can be designed and shipped quickly, allowing you to meet tight deadlines.
- Low Maintenance: The printer requires minimal maintenance, making it easy to use for any business.
What Printer do I Need to Make DTF Transfers?
If you want to make DTF transfers, you need a specialized printer. The most popular choice for DTF transfer printing is the Epson XP-15000. This model has very high print quality and can easily handle up to 24-inch wide transfers.
If you want even higher quality prints, then you could go for the large format Epson SureColor F9200 which can handle up to 64-inch wide transfers. Both of these models are great for making DTF transfers, so it just depends on the size and quality of print that you need.
What kind of paper do I need for DTF transfers?
When making a DTF transfer, you need to make sure that you use the right kind of paper. The most commonly used type is a high-quality sublimation paper like TexPrint-R or TexPrintXP, specially designed for DTF transfers. These papers have excellent print quality and a special coating that helps them bond more effectively with fabrics.
Final Words
This guide can help you greatly if you need assistance with DTF printing, so you can master this technique and unleash your creativity on any substrate. It is important to remember that practice makes perfect when it comes to any skill. Each project you undertake will teach you valuable lessons and allow you to refine your techniques. So, equip yourself with knowledge, gather materials, and embark on endless possibilities with DTF transfers.